

WHEN CAN WE SWIM, WHEN CAN WE SWIM…
Most pool owners know this chant all too well. After the first warm weekend of spring, children across America begin chanting it in unison. The longer it goes, the louder it gets, until finally you can’t take it anymore and decide to uncover the family pool. You have been dreading this all winter long. You have watched the muck and mire build up on top of your cover knowing that one day you will have to deal with it and that day has come.
Sound familiar? This year can be different. Instead of putting pool opening off until even you know it has gone on too long- get ahead of it. It is much easier to uncover your pool BEFORE it gets hot. The debris on top of the cover hasn’t had a chance to ferment and grow smellier and nastier, the weather isn’t as hot so you don’t have to work as hard and yes, the kids won’t be after you constantly to do it. A win all the way around.
When to open – simple, after the very first week of spring like temperatures. This is important because all of your winter chemicals will have dissipated during this warm spell. After that algae and bacteria will begin to grow making opening the pool much more difficult.
Step 1 - This is the worst of it, clean off your cover BEFORE taking it off the pool. Remove all the water from the top of your cover first- this is the stuff you definitely don’t want in your pool. You can do this with the help of a submersible cover pump or a siphon. Use your garden hose to direct it away from the pool. If there is a lot of slime on the cover, spray it with water from the garden hose and then remove that water too. This will make it easier to remove the cover and keep you from getting slimed in the process.
Step 2 - take off the cover. This is easy and can be done with very little aggravation. For above ground pools you will loosen the cover cable and remove the winch. This will free the cover from the pool ledges and make removal easy. For in the ground pools you will need to remove any and all water bags from the perimeter.
Once that has been done simply slide the cover off the pool pulling it in one direction. Because the cover is now “clean” there is no risk of debris falling into the pool and removing he cover will be a snap.
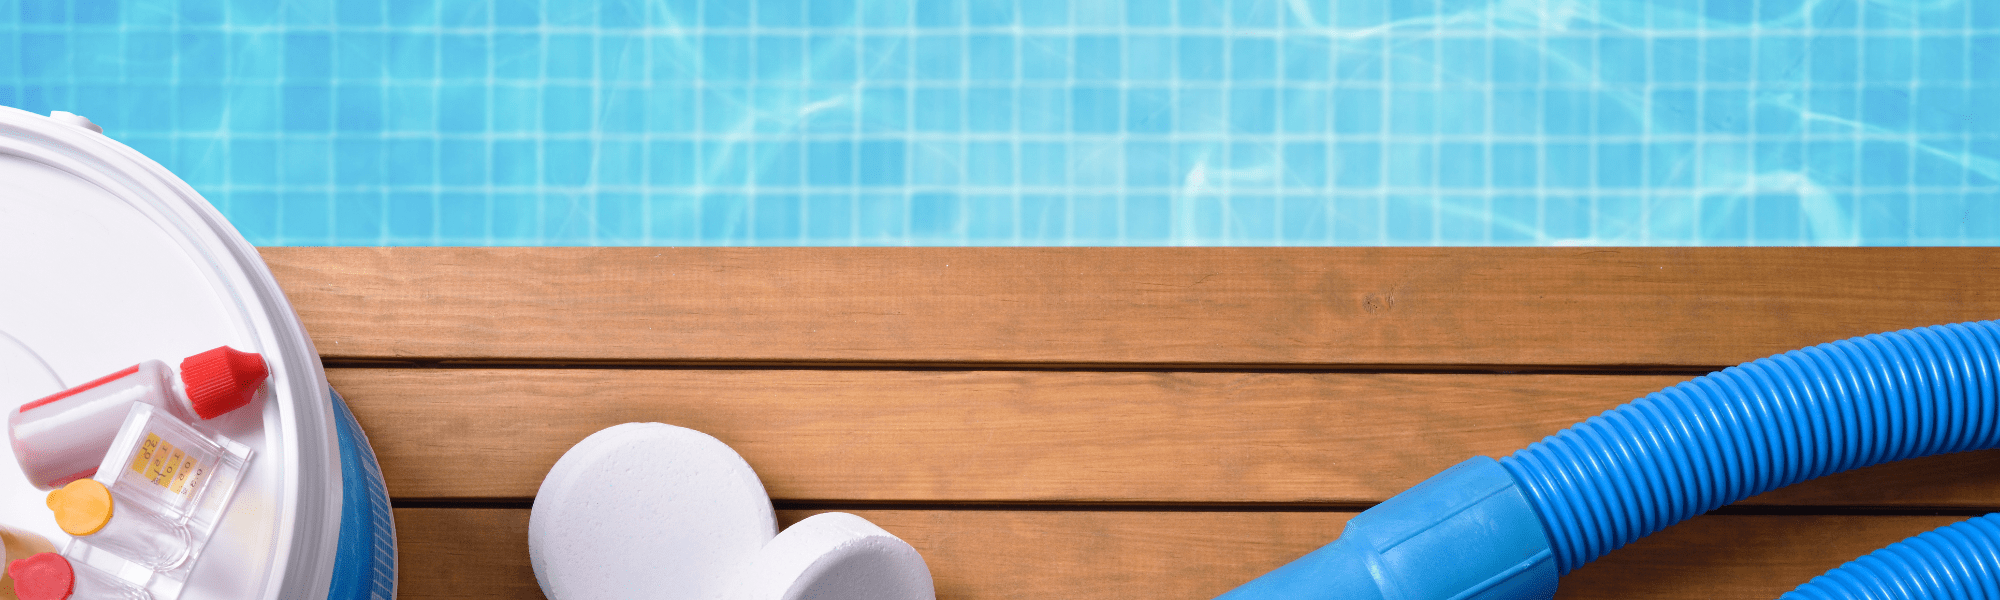
Step 4 - Add water – put the garden hose into the pool and fill it to the proper level – normally ¾ of the way up the thru wall skimmer opening. With every gallon of water you are adding to your pool you are also adding MINERALS. These can cause you problems later on so it is best to get rid of them now. While filling add a mineral remover such as LIQUID MAGNET. This will take care of most mineral problems.
Step 5 - Hook up your filter system. Sounds simple, and it is if you remember how it connects. Just remember the flow of water. Hose from skimmer goes to the front of the pump. Hose from top of the pump goes to filter tank (look for embossed “to pump” on filter to see where to connect hose) the hose from the filter goes to the return port (also “to pool” is embossed on filter). It is important to inspect the hoses before connecting. Filter hoses go through a lot of pressure changes during the season and are susceptible to cracking. Any cracked hoses should be replaced before going ahead.
Step 6 - Once the filter is hooked up you can remove the winter plates and plugs from your skimmer and return. This will allow water to fill your filter system. At this point you are almost finished.
Once the water lever is at the proper height, your filter is hooked up you can have your Griswold moment and turn it on. Once you hear the gentle splashing of water going back to the pool from your filter you know you have been successful.
Recent Posts
-

Are You Using The Wrong Pump For Your Pool?
Over the last few years there has been a lot of talk about speed in swimming pool pumps. Which is be …Mar 22nd 2024 -

The Best "Super Pump" Replacement
Are you looking to replace your worn out Super Pump but can’t seem to find one anywhere? You are not …Mar 3rd 2024 -

Does Your Child Use Pool Dive Games?
Swimming is a fun and beneficial activity for children of all ages, and pool dive games can add an e …Mar 14th 2023